In the world of architectural visualization, lighting is a crucial element that can make or break the impact of a 3D rendering. Poor lighting not only diminishes the visual appeal of a project but can also mislead clients and stakeholders about the true nature of a space. To avoid undermining your entire project, it’s essential to understand the importance of lighting in renderings and implement best practices to achieve the desired results. In this blog, we’ll explore how poor lighting can affect your project and provide solutions to ensure your 3D renderings shine.
1. The Impact of Lighting on 3D Renderings
Lighting is more than just a technical aspect of 3D rendering; it’s a powerful tool that sets the mood, highlights key features, and creates a sense of depth and realism. When done poorly, lighting can flatten a scene, obscure details, and give an inaccurate representation of the design.

Key Issues with Poor Lighting:
- Loss of Detail: Insufficient or uneven lighting can cause important details to be lost, making the rendering appear flat and uninteresting.
- Misleading Representation: Poor lighting can distort the perception of space, making areas appear larger, smaller, or differently shaped than they actually are.
- Unbalanced Aesthetics: Overly harsh or dim lighting can create unbalanced visuals, leading to an unappealing rendering that fails to capture the essence of the design.
2. Common Lighting Pitfalls in 3D Renderings
To avoid undermining your project, it’s important to be aware of common lighting pitfalls that can occur during the rendering process.
Common Pitfalls:
- Overexposure: Overexposed renderings can wash out colors and details, making the scene appear unrealistic and unprofessional.
- Underexposure: Underexposed scenes can be too dark, hiding key elements and creating a gloomy or uninviting atmosphere.
- Incorrect Light Sources: Using inappropriate light sources, such as unnatural light angles or mismatched color temperatures, can result in a rendering that looks artificial and out of sync with the intended design.
3. Best Practices for Effective Lighting in 3D Renderings
To ensure your renderings accurately reflect your vision and engage your audience, follow these best practices for effective lighting.
Best Practices:
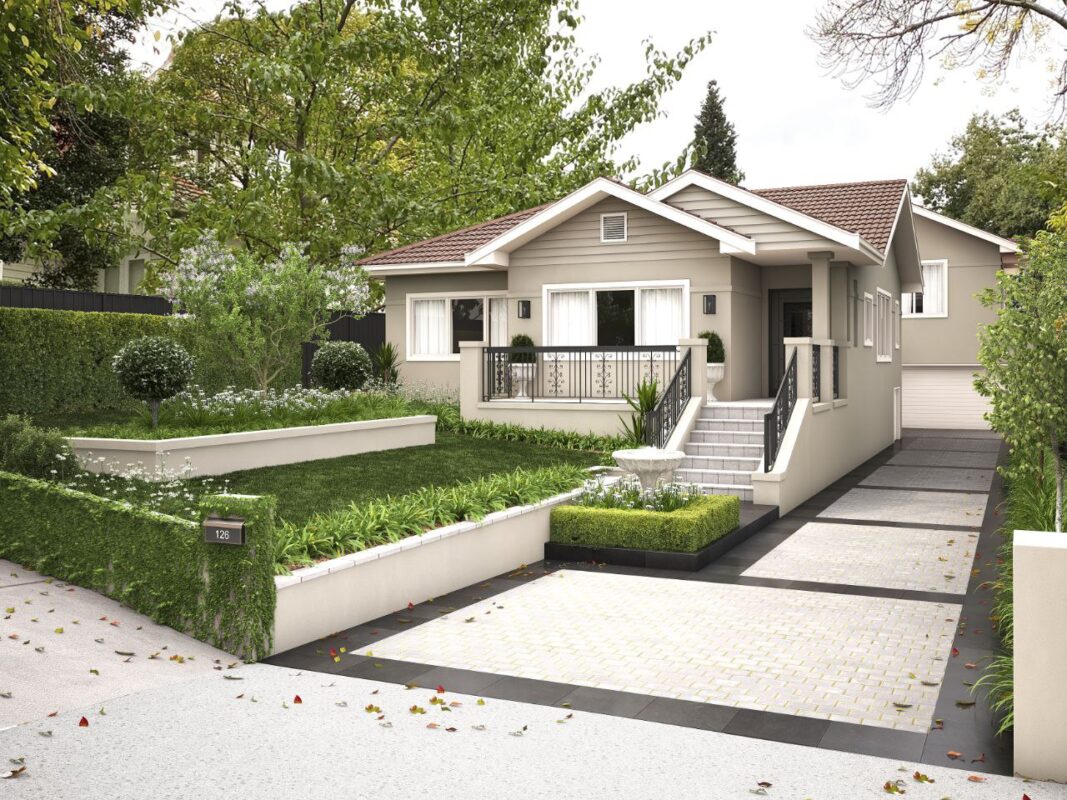
- Simulate Natural Lighting: For daytime scenes, simulate natural sunlight by considering the orientation of the building and the time of day. Soft shadows and diffused light can create a realistic and inviting atmosphere.
- Use Multiple Light Sources: Layering multiple light sources, including ambient, task, and accent lighting, can add depth and dimension to the scene. This approach mimics real-world lighting conditions and enhances the realism of the rendering.
- Adjust Light Intensity and Color: Balance light intensity to avoid overexposure or underexposure. Additionally, match the color temperature of the lighting to the intended environment (e.g., warm lighting for a cozy living room, cool lighting for a modern office).
- Highlight Focal Points: Use lighting to draw attention to key features of the design, such as architectural elements, textures, or specific areas within the space. This helps guide the viewer’s eye and enhances the overall impact of the rendering.
4. Advanced Techniques for Professional Lighting
For those looking to elevate their 3D renderings to the next level, consider incorporating advanced lighting techniques that add sophistication and realism.
Advanced Techniques:
- Global Illumination: Implement global illumination (GI) to simulate how light bounces off surfaces and interacts with different materials. This creates a more natural and cohesive look, reducing harsh shadows and enhancing overall brightness.
- HDR Lighting: High Dynamic Range (HDR) lighting can add depth and contrast to a scene, capturing a wider range of light and dark areas for a more dynamic and realistic rendering.
- Post-Processing Adjustments: Use post-processing tools to fine-tune lighting after the rendering process. This includes adjusting exposure, contrast, and color balance to achieve the desired visual effect.
5. Bricks Vista: Your Partner in Perfect Lighting
At Bricks Vista, we understand the critical role that lighting plays in the success of a 3D rendering. Our team of experts is skilled in the latest lighting techniques and technologies, ensuring that every rendering we produce is visually stunning and true to the design intent.
Whether you need realistic daylight simulations, dramatic evening scenes, or balanced interior lighting, Bricks Vista has the expertise to bring your projects to life with precision and clarity.
Conclusion
Poor lighting can significantly undermine the impact of your 3D renderings, leading to misrepresentations and a loss of client trust. By following best practices and utilizing advanced techniques, you can ensure that your renderings not only meet but exceed expectations. At Bricks Vista, we specialize in creating high-quality, well-lit renderings that accurately reflect your vision and leave a lasting impression.
Ready to illuminate your designs with expert lighting solutions?
Contact Bricks Vista today to learn how we can enhance your 3D renderings with professional lighting techniques.

